Creamy, delicious, and incredibly easy to make, the 3-ingredient Oreo ice cream is a true delight. With a simple combination of basic ingredients, you can effortlessly create a frozen treat that not only satisfies your sweet tooth but also leaves you craving for more.

This recipe for no churn Oreo Ice Cream offers a hassle-free method that requires neither an ice cream machine nor eggs. The delightful combination of a creamy texture and an irresistible Oreo cookie flavor makes Oreo ice cream a hit at any occasion or birthday parties and family gatherings. It's just the perfect way to cool down in summers and satisfy those sweet cravings.
If you like simple and easy desserts without all the hassle try these No Bake Eclairs Cake, 3 Ingredients Cookies & Cream Fudge and Oreo Milkshake.
Ingredients needed
- Oreos
- Sweetened condensed milk
- Heavy whipping cream
Instructions
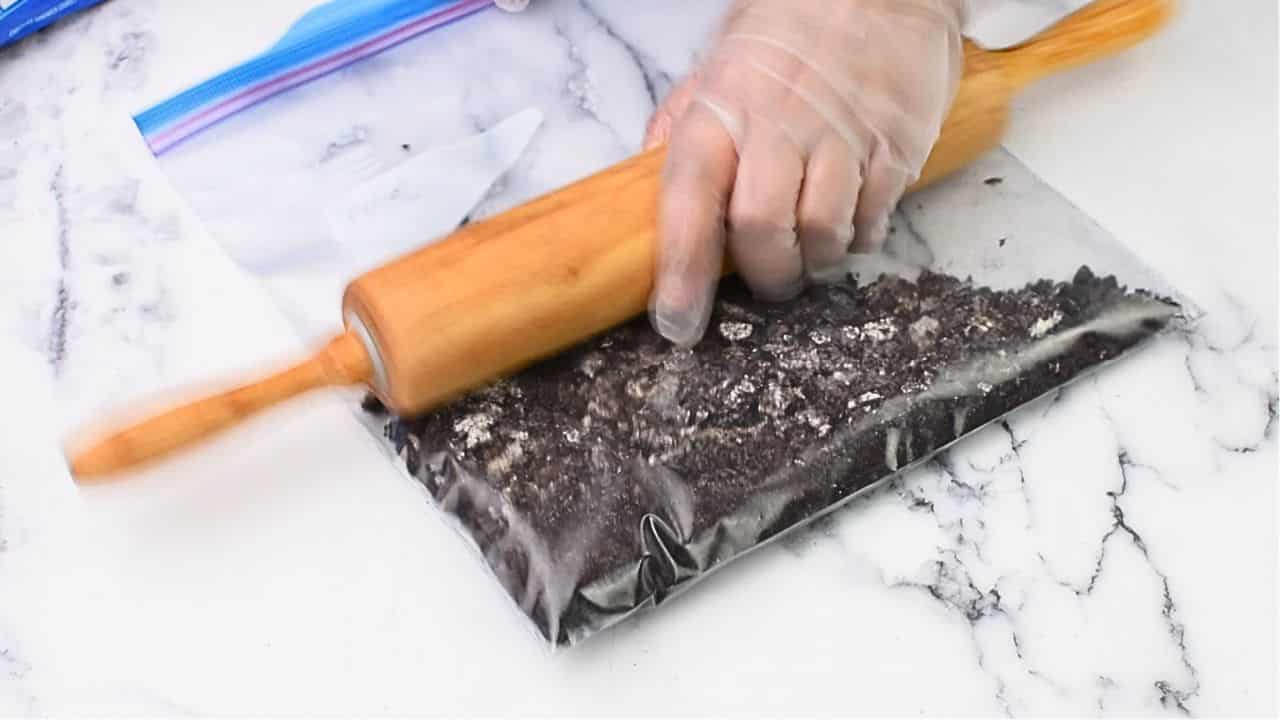
- First, crush the Oreo cookies in a plastic bag with a rolling pin and set aside.
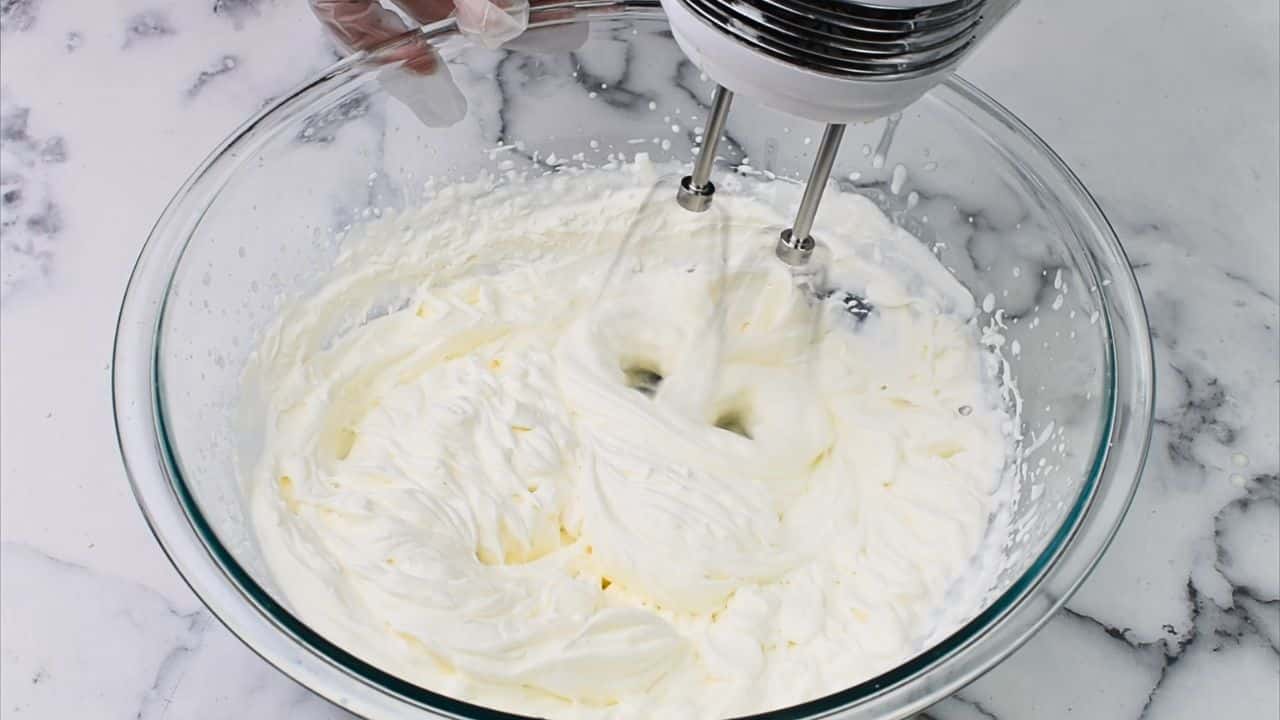
- Then, use a hand mixer or electric mixer to whip heavy cream until stiff peaks.
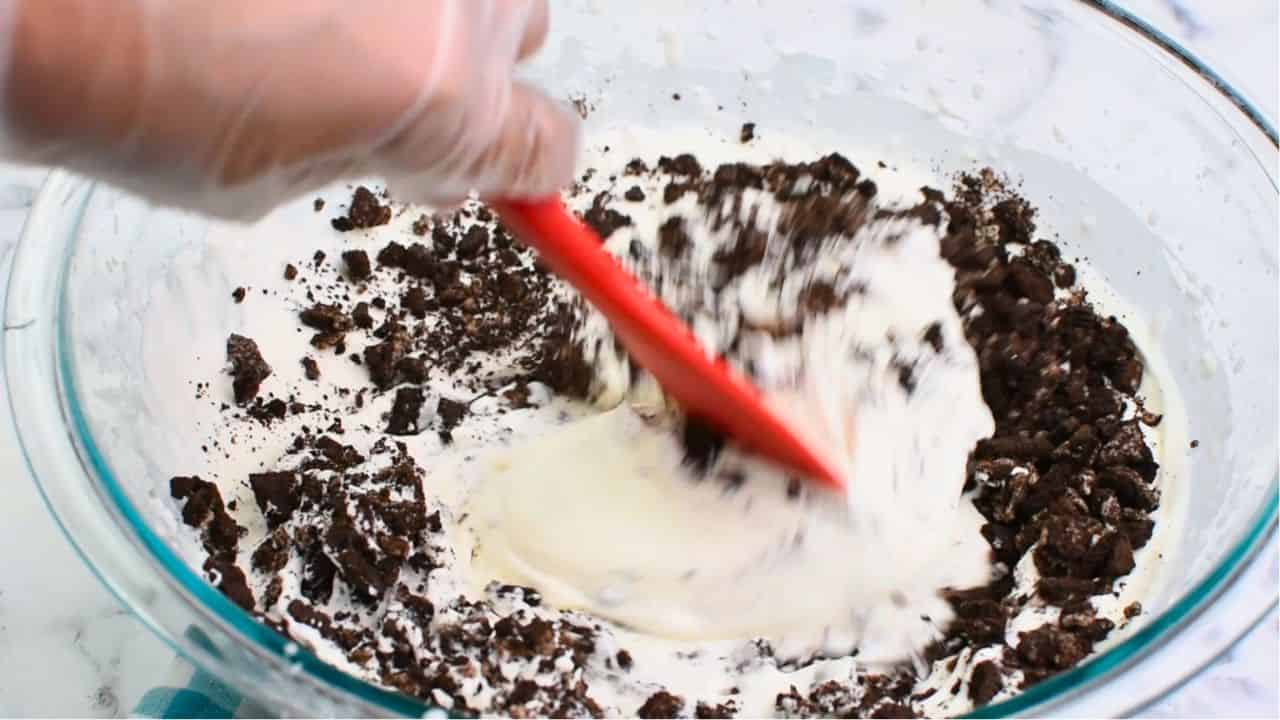
- Add sweetened condensed milk and beat for few minutes to combine.

- Now gently fold crushed oreos and stir.
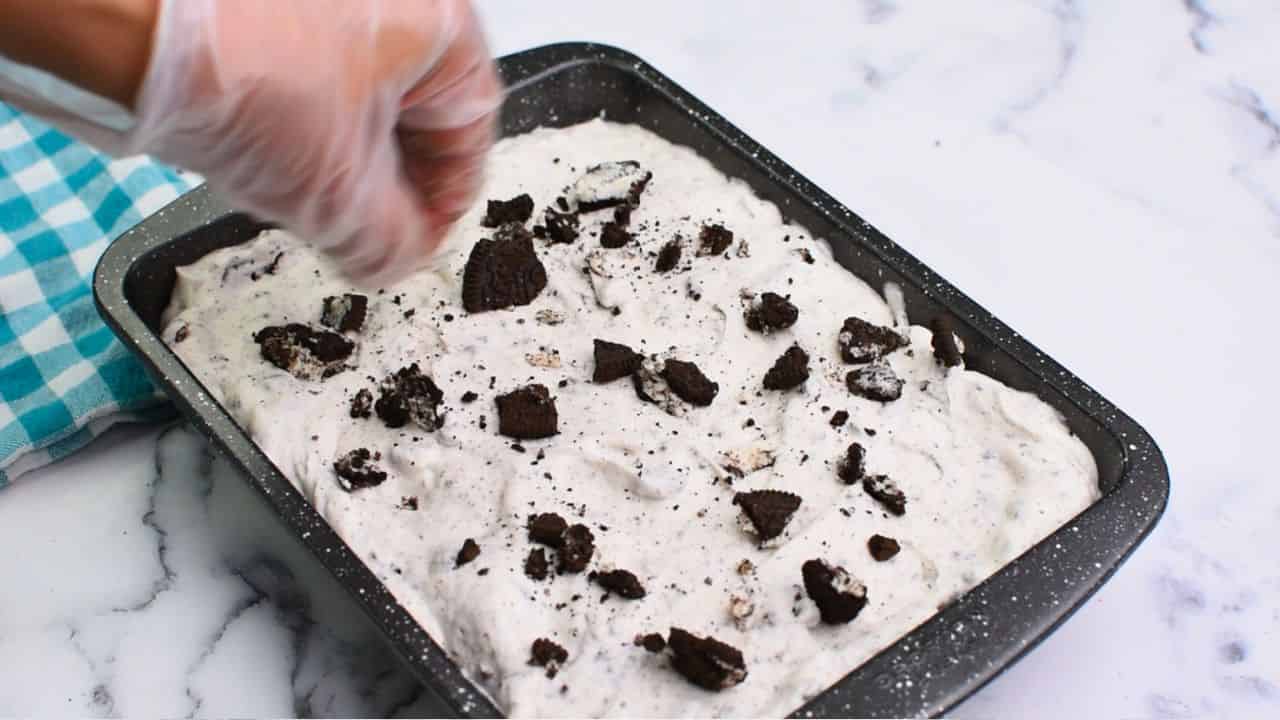
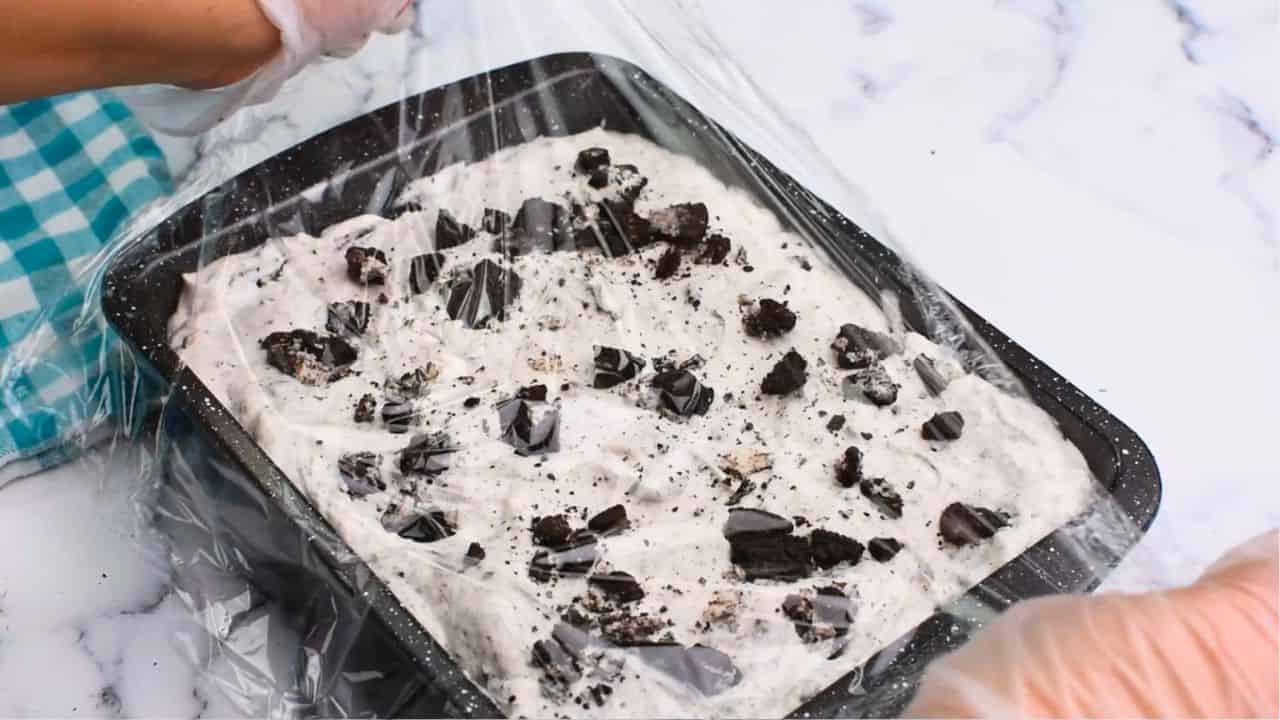
- Transfer the ice cream in a freezer safe container or a loaf pan and sprinkle some oreo pieces on top.
- Cover tightly with a plastic wrap. Freeze for at 4-6 hours or overnight.
Recipe tips
- Choose Quality Ingredients: While this recipe is wonderfully simple, using high-quality ingredients can make a noticeable difference in the flavor and texture of your ice cream. Opt for fresh, full-fat whipped cream for a creamy and luxurious mouthfeel. Similarly, select your favorite brand of Oreo cookies, ensuring they are fresh and crisp. Quality ingredients lead to a superior end result.
- Get Creative with Mix-ins: While the recipe calls for just three ingredients, feel free to get creative with additional mix-ins. Consider adding a teaspoon of vanilla extract for extra flavor or sprinkling in some mini chocolate chips to amplify the chocolatey goodness. Experiment with different additions to make your Oreo ice cream uniquely yours.
- Don't Rush the Freezing Process: Allowing the ice cream mixture ample time to freeze is crucial for achieving a creamy and scoopable consistency. It is recommended to freeze the ice cream for a minimum of 6 hours or preferably overnight. Patience is key here; resist the temptation to check on it too frequently. This wait will be rewarded with a perfect frozen treat.
- Prevent Freezer Burn: Freezer burn can affect the quality and taste of ice cream over time. To prevent it, place a layer of plastic wrap directly on the surface of the ice cream before sealing the container. This creates a barrier between the ice cream and the air, reducing the risk of freezer burn.
- Soften before Serving: Taking the ice cream out of the freezer about 10 to 15 minutes before serving allows it to soften slightly. This short period of tempering makes the ice cream easier to scoop and results in a smoother, creamier texture.
- Dip the Scoop in Hot Water: To make scooping ice cream easier and prevent it from sticking to the scoop, dip the ice cream scoop in hot water before each scoop. The warm water helps to melt the surface of the ice cream slightly, allowing the scoop to glide through smoothly and create clean, neat scoops.
FAQS
Can I use other cookie brands instead of Oreo cookies?
Absolutely! While Oreo cookies are the classic choice for this recipe, feel free to experiment with other cookie brands or flavors. You can try substituting with chocolate chip cookies, peanut butter cookies, or even mint chocolate cookies for a unique twist. Let your creativity shine!
How long does the ice cream need to freeze?
After mixing the ingredients, pour the mixture into a suitable container, cover it, and place it in the freezer. The ice cream will need to freeze for a minimum of 6 hours or preferably overnight. This ensures that it reaches a firm and scoopable consistency.
Can I use reduced-fat or dairy-free alternatives?
Absolutely! If you prefer reduced-fat options, feel free to use low-fat or reduced-fat versions of the condensed milk and whipped cream. Additionally, if you're following a dairy-free diet, you can use non-dairy whipped topping and sweetened condensed coconut milk as substitutes. Adapt the recipe to suit your dietary preferences.
Can I add extra mix-ins to the ice cream?
Absolutely! Our 3-ingredient Oreo Ice Cream provides a delightful base for customization. You can add extra mix-ins like chocolate chips, crushed nuts, or even swirls of caramel or fudge sauce. Get creative and tailor the ice cream to your taste preferences.

More delicious desserts
Recipe video

📖 Recipe

3 Ingredients oreo ice cream
Equipment
- 1 electric hand mixer
Ingredients
- 14-16 oreos
- 2 cups(480ml) heavy whipping cream
- ½ cup(153g) sweetened condensed milk
Instructions
- First, crush the Oreo cookies in a plastic bag with a rolling pin and set aside.
- Then, use a hand mixer or electric mixer to whip heavy cream until stiff peaks.
- Add sweetened condensed milk and beat for few minutes to combine.
- Now gently fold crushed oreos and stir.
- Transfer the ice cream in a freezer safe container or a loaf pan and sprinkle some oreo pieces on top.
- Cover tightly with a plastic wrap. Freeze for at 4-6 hours or overnight.
Notes
- Choose Quality Ingredients: While this recipe is wonderfully simple, using high-quality ingredients can make a noticeable difference in the flavor and texture of your ice cream. Opt for fresh, full-fat whipped cream for a creamy and luxurious mouthfeel. Similarly, select your favorite brand of Oreo cookies, ensuring they are fresh and crisp. Quality ingredients lead to a superior end result.
- Get Creative with Mix-ins: While the recipe calls for just three ingredients, feel free to get creative with additional mix-ins. Consider adding a teaspoon of vanilla extract for extra flavor or sprinkling in some mini chocolate chips to amplify the chocolatey goodness. Experiment with different additions to make your Oreo ice cream uniquely yours.
- Don't Rush the Freezing Process: Allowing the ice cream mixture ample time to freeze is crucial for achieving a creamy and scoopable consistency. It is recommended to freeze the ice cream for a minimum of 6 hours or preferably overnight. Patience is key here; resist the temptation to check on it too frequently. This wait will be rewarded with a perfect frozen treat.
- Prevent Freezer Burn: Freezer burn can affect the quality and taste of ice cream over time. To prevent it, place a layer of plastic wrap directly on the surface of the ice cream before sealing the container. This creates a barrier between the ice cream and the air, reducing the risk of freezer burn.
- Soften before Serving: Taking the ice cream out of the freezer about 10 to 15 minutes before serving allows it to soften slightly. This short period of tempering makes the ice cream easier to scoop and results in a smoother, creamier texture.
- Dip the Scoop in Hot Water: To make scooping ice cream easier and prevent it from sticking to the scoop, dip the ice cream scoop in hot water before each scoop. The warm water helps to melt the surface of the ice cream slightly, allowing the scoop to glide through smoothly and create clean, neat scoops.