No-Bake Individual Ladyfinger Dessert is perfect for a quick treat or a party. It is made with ladyfingers, cream, and fresh strawberries. The soft texture of the ladyfinger pairs well with the creamy filling and fresh fruit. You can prepare it beforehand and keep it in the fridge until serving. Try this easy recipe for a simple and delicious dessert.

This No-Bake Individual Ladyfinger Dessert is not only easy to make, but it’s also a fun treat that looks impressive! With simple ingredients and no baking required, it’s a perfect dessert for beginners or anyone looking for a quick, no-fail option.
If you’re looking for more no-bake dessert ideas, try my No bake chocolate peanut butter dream dessert, No Bake mango icebox cake(4 ingredients only) and No-bake blueberry cheesecake cups.
Ingredients

- Ladyfingers – You can find them at most grocery stores. They are light and airy, perfect for absorbing flavors.
- Heavy Cream – Use cold heavy cream for whipping to achieve a smooth and fluffy consistency.
- Cream Cheese – Let it reach room temperature so it blends easily with the other ingredients.
- Shredded Coconut – Adds extra flavor and texture to the dessert.
Instruction
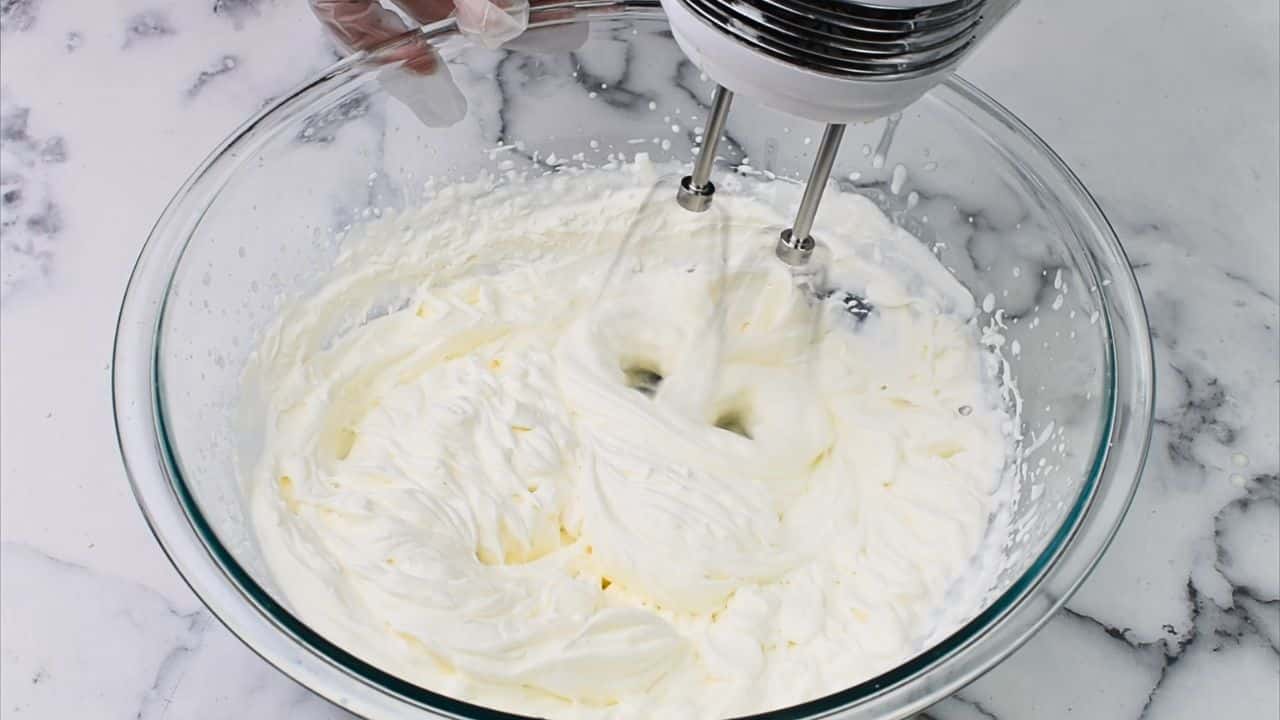
- Prepare the cream filling: In a large mixing bowl, beat the heavy cream, cream cheese, and powdered sugar using a hand mixer or stand mixer. Continue beating until stiff peaks form, meaning the cream holds its shape when you lift the beaters. This will give the filling a thick and fluffy texture.
- Fill the pastry bag: Transfer the whipped cream mixture into a pastry bag. This makes it easier to apply the cream evenly onto the ladyfingers without making a mess. If you don’t have a pastry bag, you can use a plastic sandwich bag with a small corner cut off.
- Assemble the ladyfingers: Take one ladyfinger and apply a line of the cream mixture along the top. Place another ladyfinger on top of it to make a sandwich. Gently press down to make sure they stick together.

- Soften the ladyfingers: Dip the entire ladyfinger sandwich into a shallow bowl of milk for just a few seconds. This softens the ladyfingers and helps them absorb the milk. Be sure not to soak them too long, or they’ll get too soggy.
- Coat with coconut: Roll the milk-soaked sandwich in shredded coconut, making sure all sides are covered.

- Place in paper cups: Take paper cup liners and shape them into small boat-like containers. Place each ladyfinger sandwich sideways inside the cup liners. This helps them stay in place and makes them easier to serve.
- Decorate the dessert: Pipe or spoon extra cream onto the top of each ladyfinger sandwich, then place half a strawberry on top for a fresh and colorful finish.

- Chill overnight: Cover the desserts and store them in the fridge overnight. This allows the flavors to blend and makes the dessert firm enough to enjoy the next day.

Expert tips
- Chill the Whipping Cream: Cold heavy cream is easier to whip and will achieve a fluffier texture. Before starting, place your mixing bowl and beaters in the fridge for 10-15 minutes to keep everything cool and make whipping easier.
- Don’t Soak the Ladyfingers Too Long: When dipping the ladyfingers in milk, don’t leave them in for more than a few seconds. If they soak too long, they can become soggy and lose their texture. Aim for a quick dip—just enough to soften them.
- Customize the Filling: You can switch up the cream filling by adding a teaspoon of vanilla extract, lemon zest, or even a splash of coffee for a different flavor profile.
- Make Ahead: These desserts actually taste even better after sitting in the fridge for a few hours or overnight. If you're prepping for a party, make them ahead of time and let them chill to let the flavors develop.
- Serve Cold: Always serve this dessert chilled. It keeps its shape and texture better when it’s cold, and the flavors come together more when it’s been refrigerated overnight.
Faqs
Yes, you can. If you prefer a lighter filling, you can skip the cream cheese and use more heavy cream or add mascarpone cheese for a similar creamy texture.
The dessert can be stored in the fridge for up to 2-3 days. Make sure to cover it well so it stays fresh.
Whipped cream is ready when it forms stiff peaks that stand up straight when you lift the beaters. If you over-whip it, it could turn into butter, so stop beating once it holds its shape.
Yes, you can use sweetened shredded coconut, but keep in mind that it will add extra sweetness to the dessert. If you prefer a less sweet flavor, use unsweetened coconut.
📖 Recipe

No bake individual ladyfingers dessert
Ingredients
- 2 package ladyfingers (7 oz)
- 1 cup heavy whipping cream
- 1 cup powdered sugar
- 3-4 tablespoon cream cheese, softened
- 1 cup milk
- ½ cup unsweetened shredded coconut
Instructions
- In a large mixing bowl, beat the heavy cream, cream cheese, and powdered sugar using a hand mixer or stand mixer. Continue beating until stiff peaks form, meaning the cream holds its shape when you lift the beaters.
- Transfer the whipped cream mixture into a pastry bag. If you don’t have a pastry bag, you can use a plastic sandwich bag with a small corner cut-off.
- Take one ladyfinger and apply a line of the cream mixture along the top. Place another ladyfinger on top of it to make a sandwich. Gently press down to make sure they stick together.
- Dip the entire ladyfinger sandwich into a shallow bowl of milk for just a few seconds. Be sure not to soak them too long, or they’ll get too soggy.
- Roll the milk-soaked sandwich in shredded coconut, making sure all sides are covered.
- Take paper cup liners and shape them into small boat-like containers. Place each ladyfinger sandwich sideways inside the cup liners
- Pipe extra cream onto the top of each Ladyfinger sandwich, then place half a strawberry on top.
- Cover the desserts and store them in the fridge overnight.
Notes
- Don’t Over-Soak the Ladyfingers: Just a quick dip in milk is enough. Soaking them too long can make them soggy and affect the texture.
- Room Temperature Cream Cheese: Make sure the cream cheese is soft and at room temperature so it blends smoothly with the whipped cream.
- Chill Before Serving: Refrigerate the dessert overnight or for at least a few hours to allow the flavors to set and the texture to firm up.


Angie says
Looks beautiful and I'm sure it will taste yummy as well.